😺 Substrate Kitties
This is a 2 part tutorial series that steps you through building a pallet for managing Substrate Kitties from scratch. Each part could take between 1.5 and 3 hours to complete depending on your level of experience with Substrate.
Introduction#
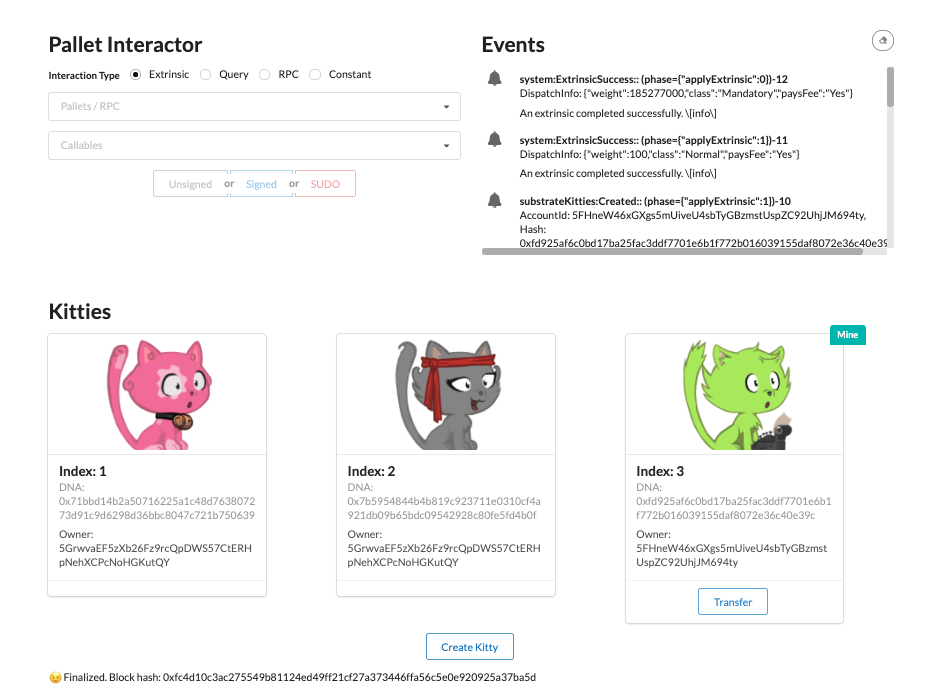
Welcome to the Substrate Kitties tutorial. This 2 part tutorial designed to teach you everything you need to know to build a blockchain designed to handle the creation and ownership management of Substrate Kitties. Part 1 will cover how to build the Kitties pallet, including the functionality to interact with the Kitties we create, such as transfering, buying and setting prices. Part II will cover developing the Front-end UI to interact with the blockchain we build in Part 1.
note
You may find it useful to come back to this page as you progress through each part — just to keep track of the bigger picture.
What we're building#
In Part 1 of this tutorial, we'll intentionally keep things simple so that you can decide on how you'd like to improve your Substrate Kitties chain later on. For the purposes of what we're building, Kitties really can only do the following things:
😺 Be created either by some original source or by being bred using existing Kitties.
😼 Be sold at a price set by their owner.
😾 Be transferred from one owner to another.
In Part 1, we'll go over:
Basic setup. We'll need to spin up a Substrate node and create a custom pallet
Runtime storage. We'll need a total of 3 storage items in our pallet to keep track of the amount of Kitties; their owners and a Kitty object containing a single Kitty's information.
Dispatchable functions. We'll need a total of 5 dispatchable functions:
create,set_price,transfer,buy_kittyandbreed_kittyPrivate functions. We'll write 2 helper functions to handle randomness:
increment_nonceandrandom_hashHelper functions. We'll write 2 helper functions for our dispatchable functions:
mintandtransfer_from.
In Part 2, we will:
Create a UI for interacting with our pallet's storage items. We'll connect to a React front-end template and create the UI for each dispatchable call.
What we won't cover#
The following fall outside the scope of this tutorial:
Writing tests for our pallet.
Declaring a configuration for the genesis of our chain.
You can refer to the how-to guides on how to do this once you've completed this tutorial series.
tip
Follow each step at your own pace — the goal is for you to learn and the best way to do that is to try it yourself! Use the side panel to write your code as you follow along (coming soon). Before moving on from one section to the next, make sure your pallet builds without any error.
You'll be writing most of the code yourself! Use the template files here to help you complete each part.
Learning outcomes#
➡️ Write and integrate a custom FRAME pallet to your runtime.
➡️ Use structs in storage and how to create and update storage items.
➡️ Write pallet extrinsics and helper functions.
➡️ Use the PolkadotJS API to connect a Substrate node to a custom a front-end.